Customize Done-for-You Social Media Images Using Canva
Instructions on how to customize the social media images and make them your own.
You can use free design tools to re-brand the images. Canva.com is a favourite tool. You don’t need the Pro account to customize the images in this pack when you use Canva. A free account will do.
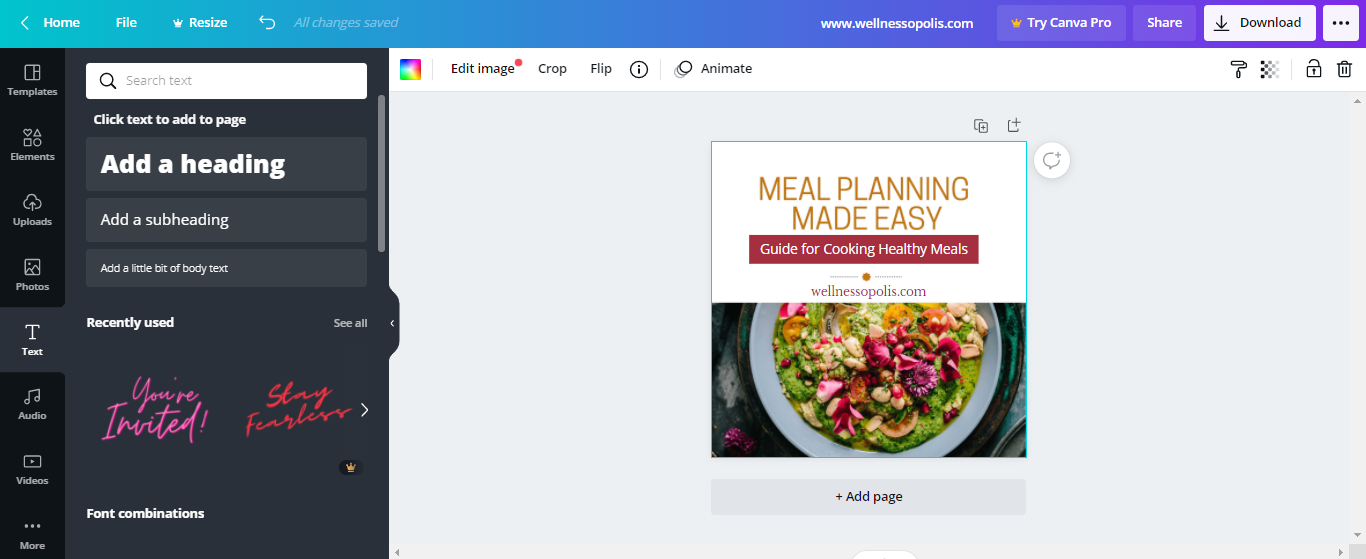
Here is how to add your website and logo if you like to the Instagram images included in the pack.
First download the pack to your computer and take note of where you saved the file.
Then, login to your Canva.com account (free plan is fine).
Step 1: Click on the “Upload” icon on the left side of the page and then hit “Device” to choose the location of the file on your computer.
Click on the image and upload it into your Canva account so that it shows up in your image uploads area.
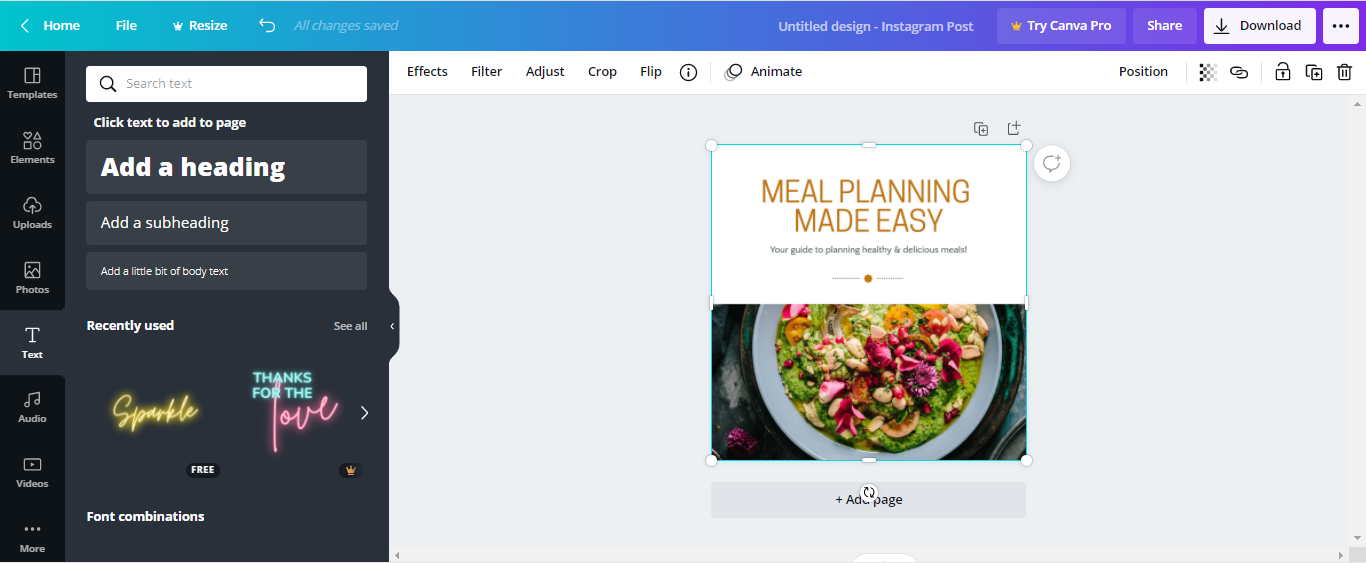
Step 2: Once there, click on the image and it will open up. Now you can edit it by choosing the “T” text tool to add your website.
Step 3: A text window will pop up on top of your image. Highlight the text and replace it by typing your new text.
Step 4: Change the colour of your text by choosing the “A” at the top of the page and a new colour window will appear so that you can the new text colour. You can also resize your text by choosing the “+” or “-” signs. Font selections are to the left if you want to make your font in a different style then the default text given.
See video demo for more details at the bottom of this page.
If you like you can then, choose the “Elements” icon to use shapes for titles. You can even color the images to whichever colour you’d like. You can see the colour selections tab at the top of the page. (A demo video below is included to see how it’s done!)
Step 1

Step 2
Step 3

Step 4

Your Instagram image is now complete!